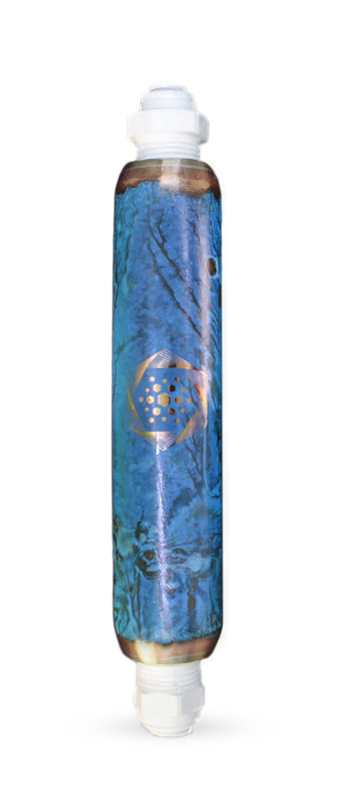
To enjoy the benefits of your AQUA ENERGIZER™, it must be installed by a licensed plumber.
Installation by anyone other than a licensed plumber voids the warranty.
AQUA ENERGIZER™
Quick Connect Device
Installation Instructions
Specifications
Weight: 1 lb
Length: 7 inches
Materials: Copper, Quartz, Minerals
Water Pressure: Approved for up to 80 psi
Fittings: Standard 1/4 inch Quick Connect fittings
This AQUA ENERGIZER™ Quick Connect is equipped with 1/4 inch push-to-connect fittings. Can easily be used with various filters, including reverse osmosis. The instructions shown are for flexible tubing installation. Your installation may vary.
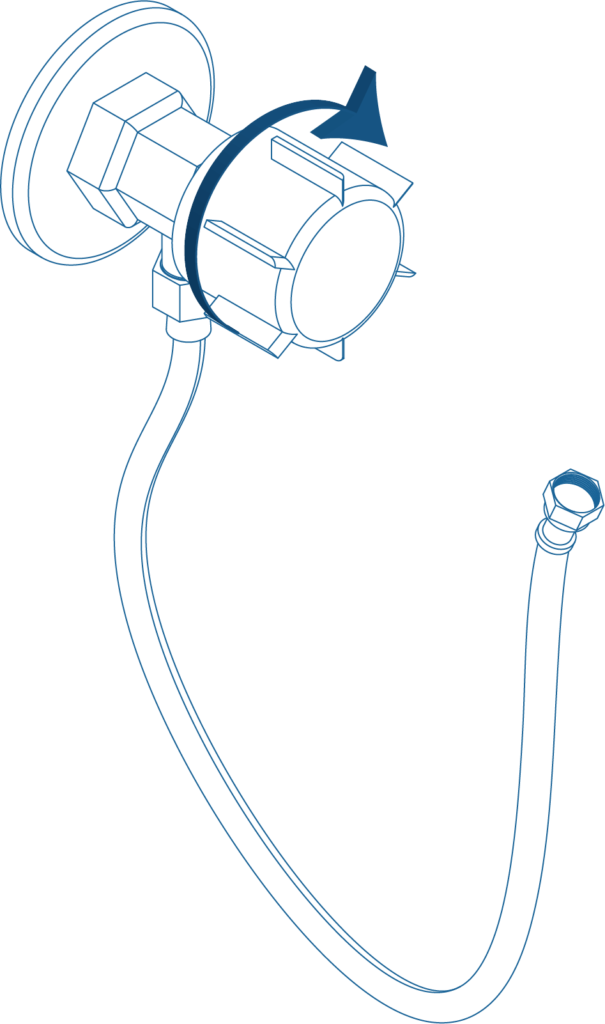
Step 1
Shut off the water supply.
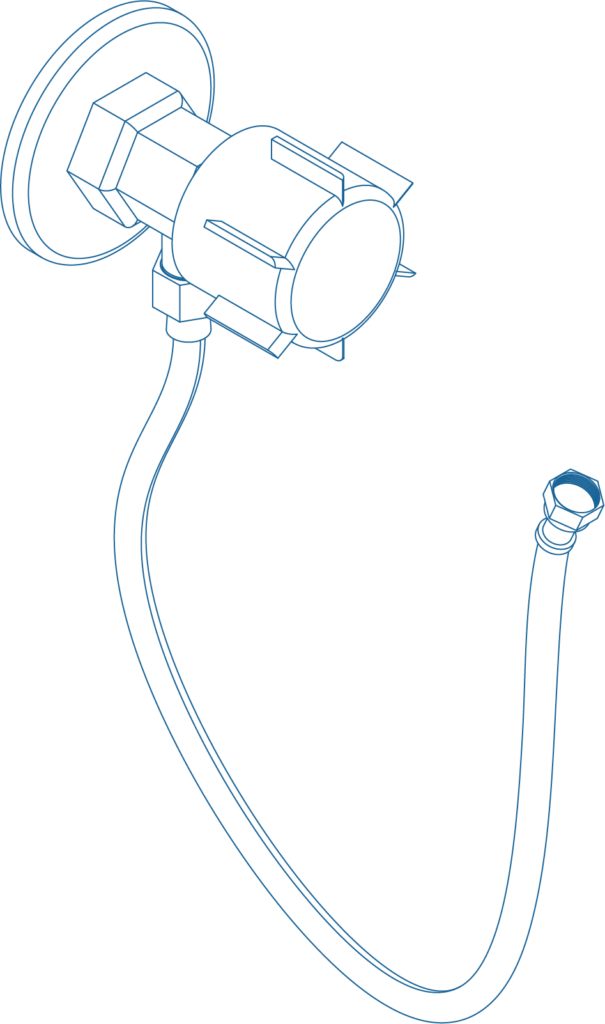
Step 2
Locate the ¼ inch water supply line. If your water supply line is not ¼ inch we recommend replacing the quick connects with the size that matches your supply line, e.g., ⅜ of an inch, etc.
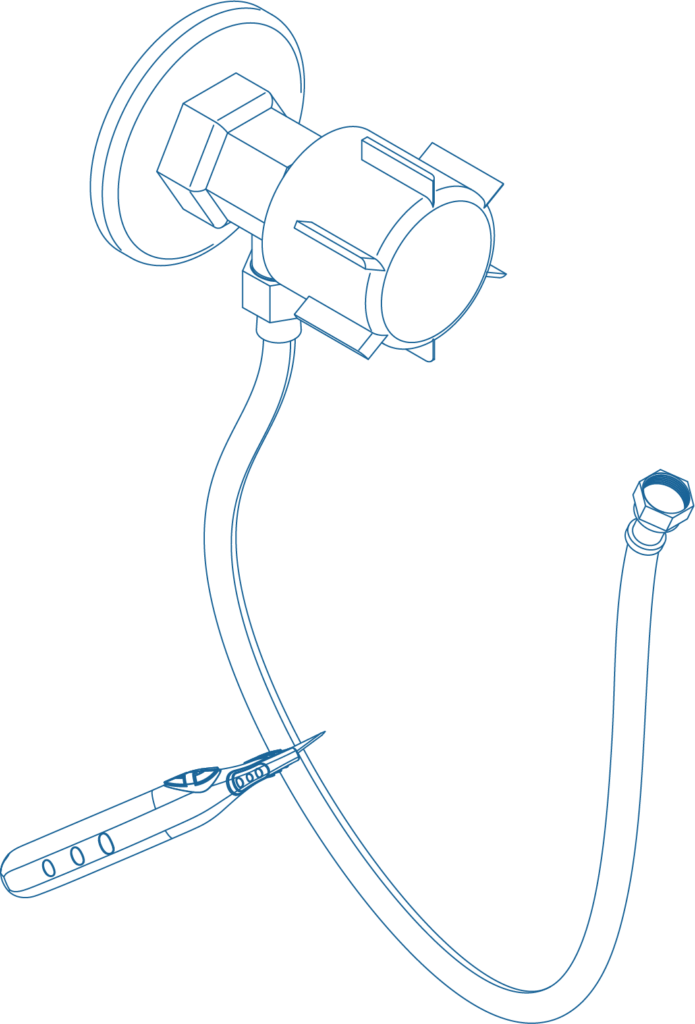
Step 3
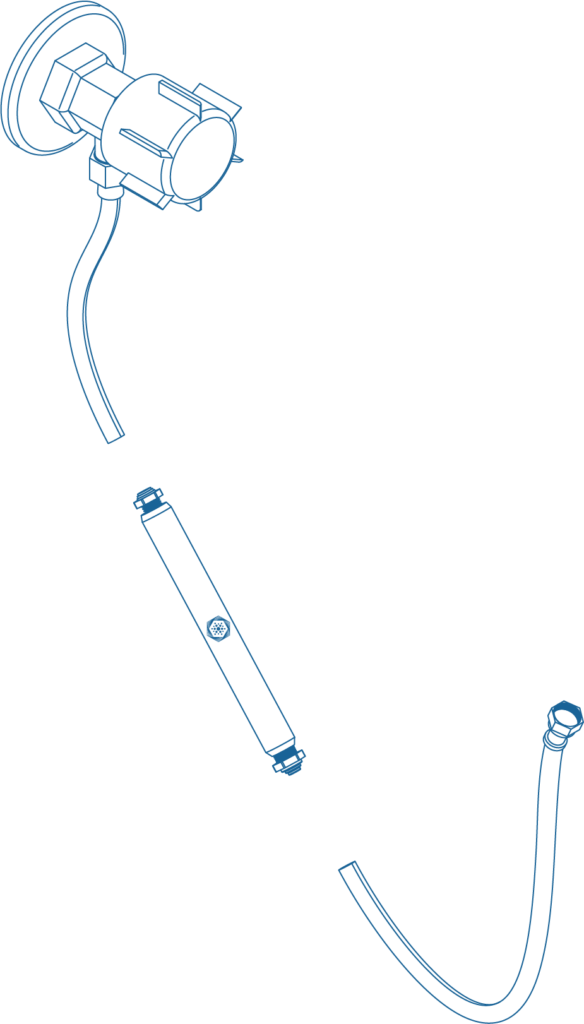
Determine where best to ‘insert’ the device in the supply line. Cut the supply line with scissors or knife.
Step 4
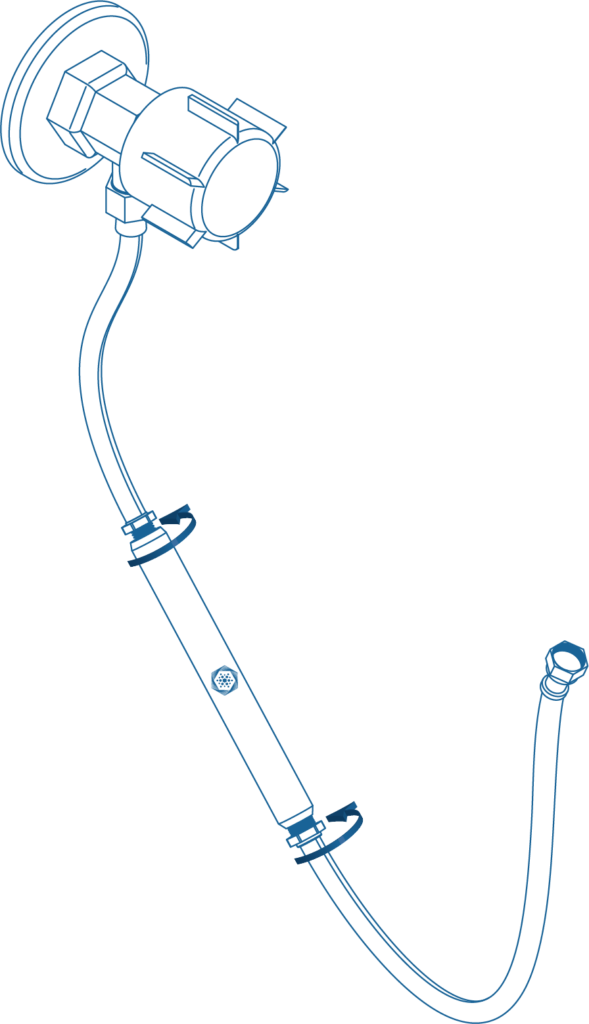
‘Attach’ the AQUA ENERGIZER in between the cut tubing. Insert each end of the supply line into one end of the device. Note: the device functions with water flowing through it from either direction.
Step 5
Check to make sure connections are snug
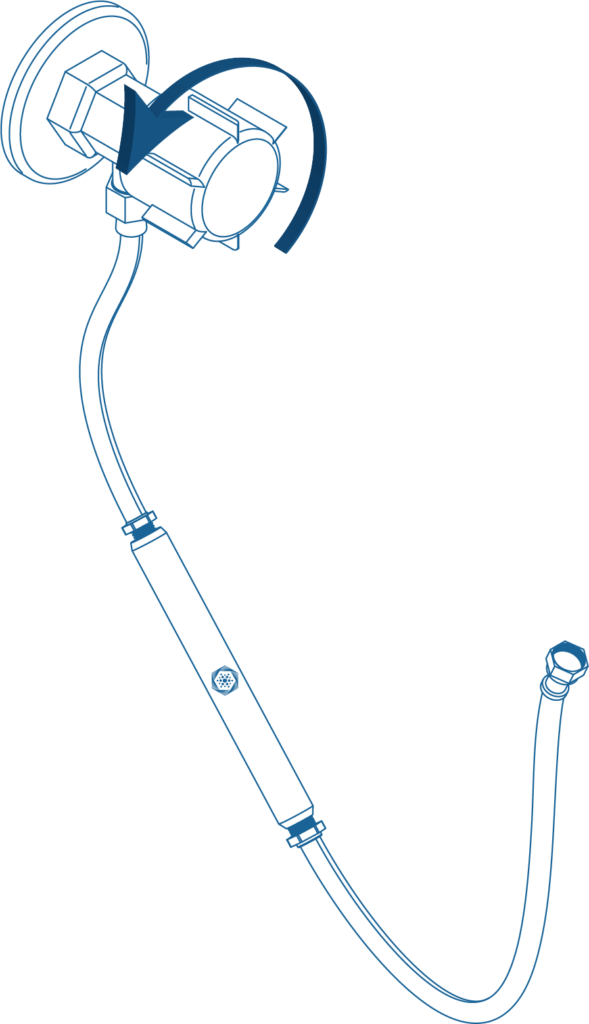
Step 6
Turn the water back on and make sure there are no leaks.
For support contact The Wellness Enterprise